Upon dropping the under dash I was greeted with a left over zip tie cut
off.
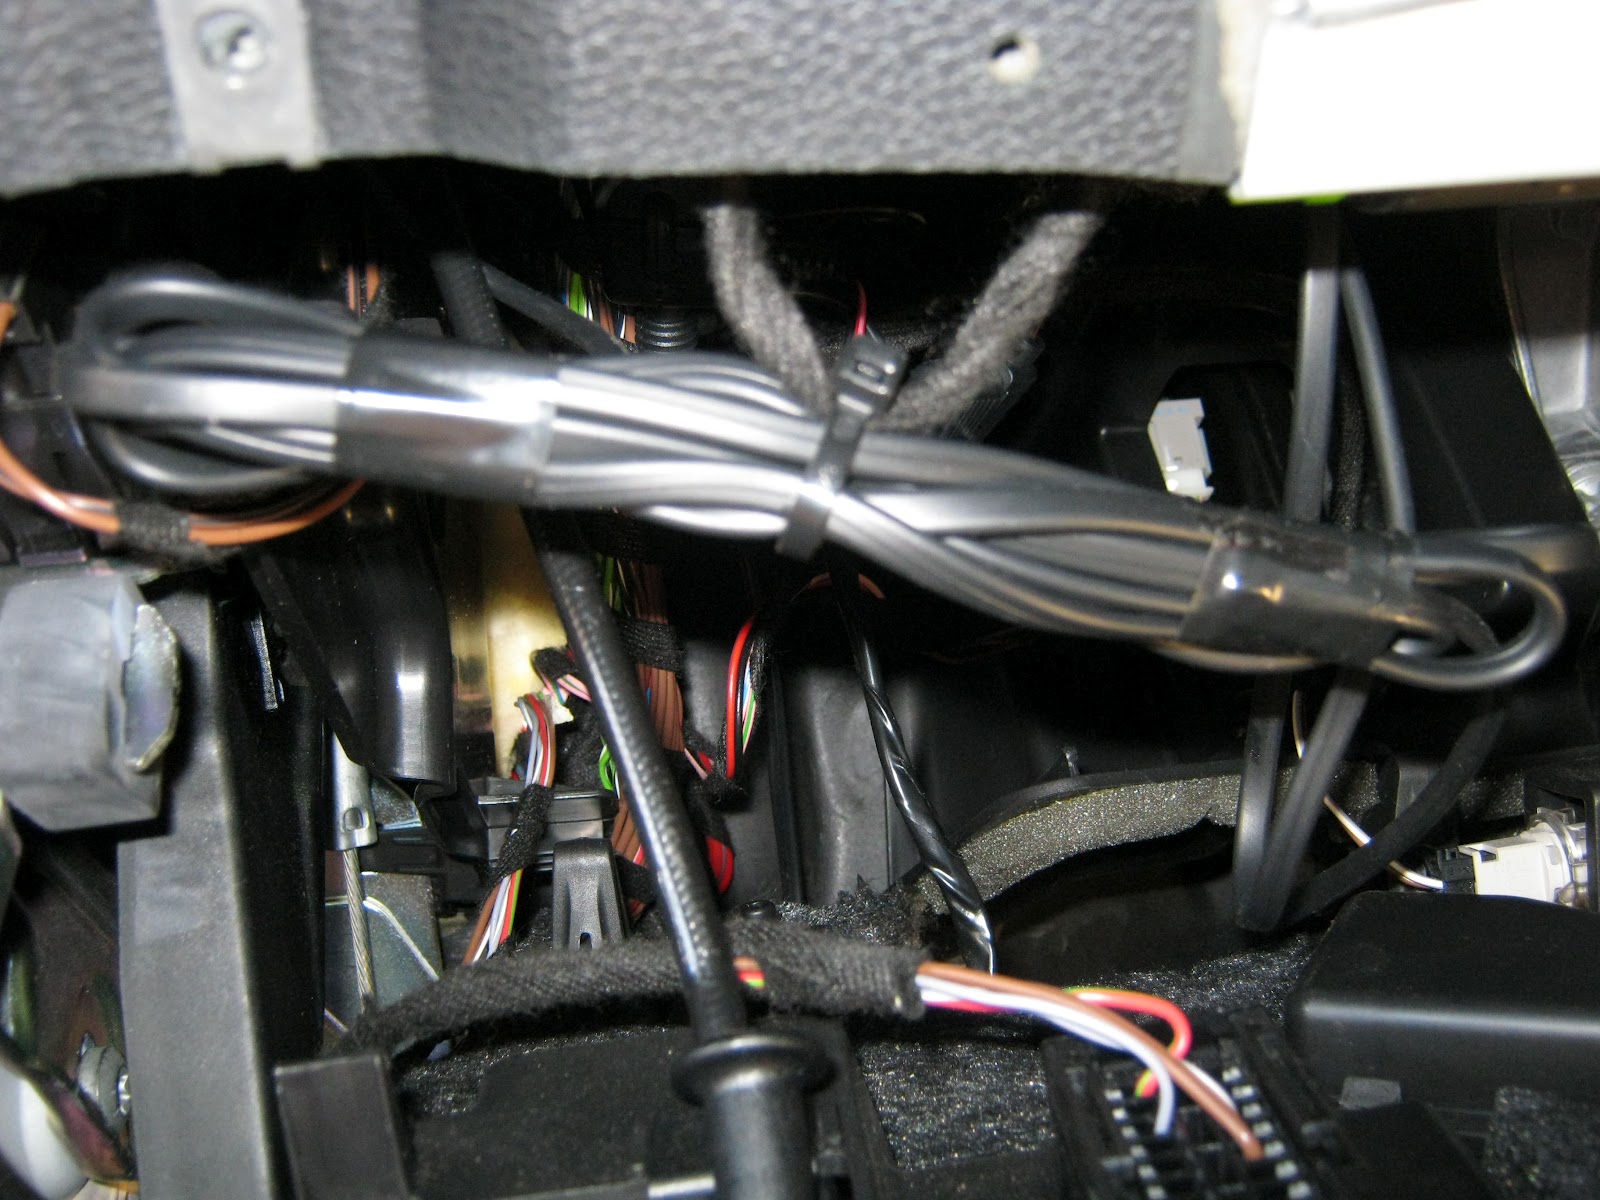
Once dropped I got a look at their wiring. Now this is main reason I tell
people to get pics of their installs. Especially anything that is behind a
panel that you don't see. I found 2 wires pinched in the steering column.
The main power line and the display cable. This to me is the ultimate fail
on this install.
Then we look to the left and see a rats nest. The main approach at Octave
is to be as noninvasive as possible in the likelihood a vehicle needs to go
in for service at a dealer you don't want them cursing you.
My personal favorite is the use of electrical tape instead of zip ties.
Tape comes apart over time and a zip tie won't.
After getting access to the wiring I was able to start the removal
process. First thing I removed was the custom display that they made for
him.
Once removed I saw their power tapping. Usually you want to put a zip tie
over the electrical tape just in case the tape comes apart.
At least they soldered the connection.
Once removed I taped the joint and finished it with a zip tie.
After removing the display pod I got a view of how they mounted the display
and control boxes. Yup. Epoxy. Let me say it was quite the joy getting them
out and cleaning them.
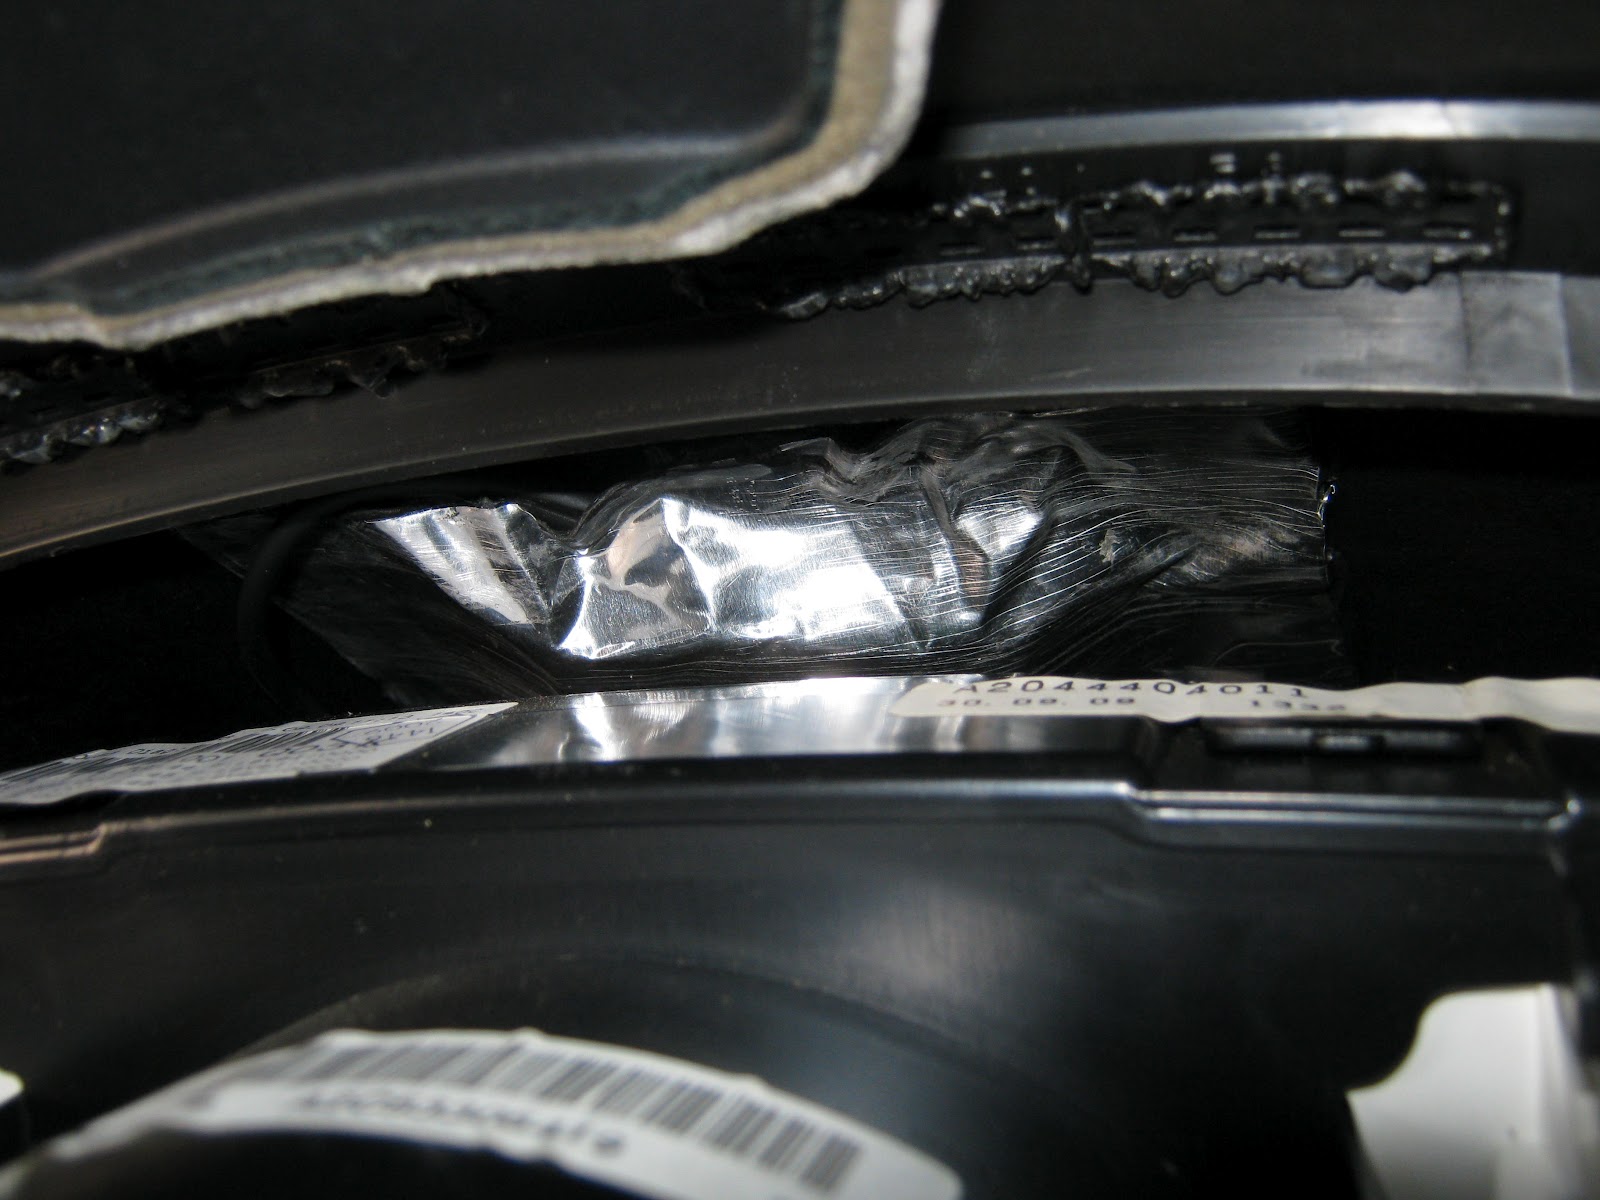
Next up was the GPS antenna. It was located above the gauge cluster under
the dash. It was mounted with a piece of leftover sound deadening. (Note it didn't have reception in this area.)
With the interior done I moved to the engine bay. First thing we see is the
radar head mounted upside down and the laser shifters mounted to close
together.
The last bit of surprises once the front components were removed was more
cut wires. These wires were actually cut by the shop and resoldered. There
is no reason that these wires should be cut in the install process of the
9500ci.
Now on to the good stuff. Replacing the C63 is ultimate Nissan GTR. I told
Tariq that I'll take care of him on this one because I felt bad for him
because of the install that the other shop did. True to form I took pics of
everything so he could see exactly what I did.
Here's the rear shifter head and how the wire was routed to the front.
A little bit of Hush Mat Quite Tape was used to hold down the wire that is
ran under the rear seat.
Per Tariq's request the front shifters were mounted in the lower portion of
the bumper. Part of the grille behind the shifters was removed to allow the
removal of the bumper for future performance upgrades without having to
completely remove the shifters from he vehicle.
The front radar head was mounted behind the grille. (right side up)
The wiring was ran along OEM wiring lines and some tech-flex was used to
cover the wire where it would be seen under the hood.
To keep the speaker out range of kicking feet and eyes it was mounted to
the under dash with a hole cut in so the speaker could be heard.
As always my favorite fuse tapes were used to supply power.
The main unit is mounted behind the driver's side kickpanel. With all the
wiring ran the end result is truly a stealth install even behind the OEM
panels.
The USB port for updates is accessible just behind the fuse box door.
Saving the best for last is the mounting of the display and control
modules. Not finding any places that worked for him I proposed a custom
approach. With future Alcantara upgrades in the cars future I made custom
mounting positions for both and then wrapped the center console piece in
black Alcantara. With the shifter in the drive position the display is
viewable and the controls are easily accessed.
With a direct A / B comparison between Octave and the local big shop it is evident that which ever shop you choose is ultimately up to you but please make sure to
cover yourself because just because a shop works on Benz, Lambo and Ferrari
doesn't mean they will give you the attention to detail that goes along with
a $120/hr price tag, but Octave gives you that attention at a fraction of the cost.
For more pics please visit www.OCTAVEONLINE.com