How do you improve on a DynAudio system? You do another one. David brought in his Raptor last year for a complete DynAudio Esotec system after demoing my resident DynAudio Esotar demo vehicle. Here is the link to the previous build http://www.diymobileaudio.com/forum/...ntensive*.html A week after the system was finished David was more than pleased but asked what’s the next step. Well the next step is here. He brought the Raptor back in to get the next step towards sonic bliss.

First thing was to tear into this beast and get the interior apart because every metal surface was going to get a treatment of Hush Mat sound deadening and acoustical foam.


With that done a layer of Hush Mat Silencer Megabond was applied over the sound deadening for further noise cancelation.


To keep up with the new power requirements the OEM wiring was upgraded. New power lines were run from the alternator to battery, alternator to chassis ground, battery to chassis ground, and 0 gauge power and ground wire was run to the back. All wiring was covered with flexloom and heat shrunk at the ends to give an OEM appearance. With that done the engine bay has an untouched look. The 0 gauge wires were passed through the fire wall using weatherproof screw grommets that was also siliconed for extra weatherproofing.


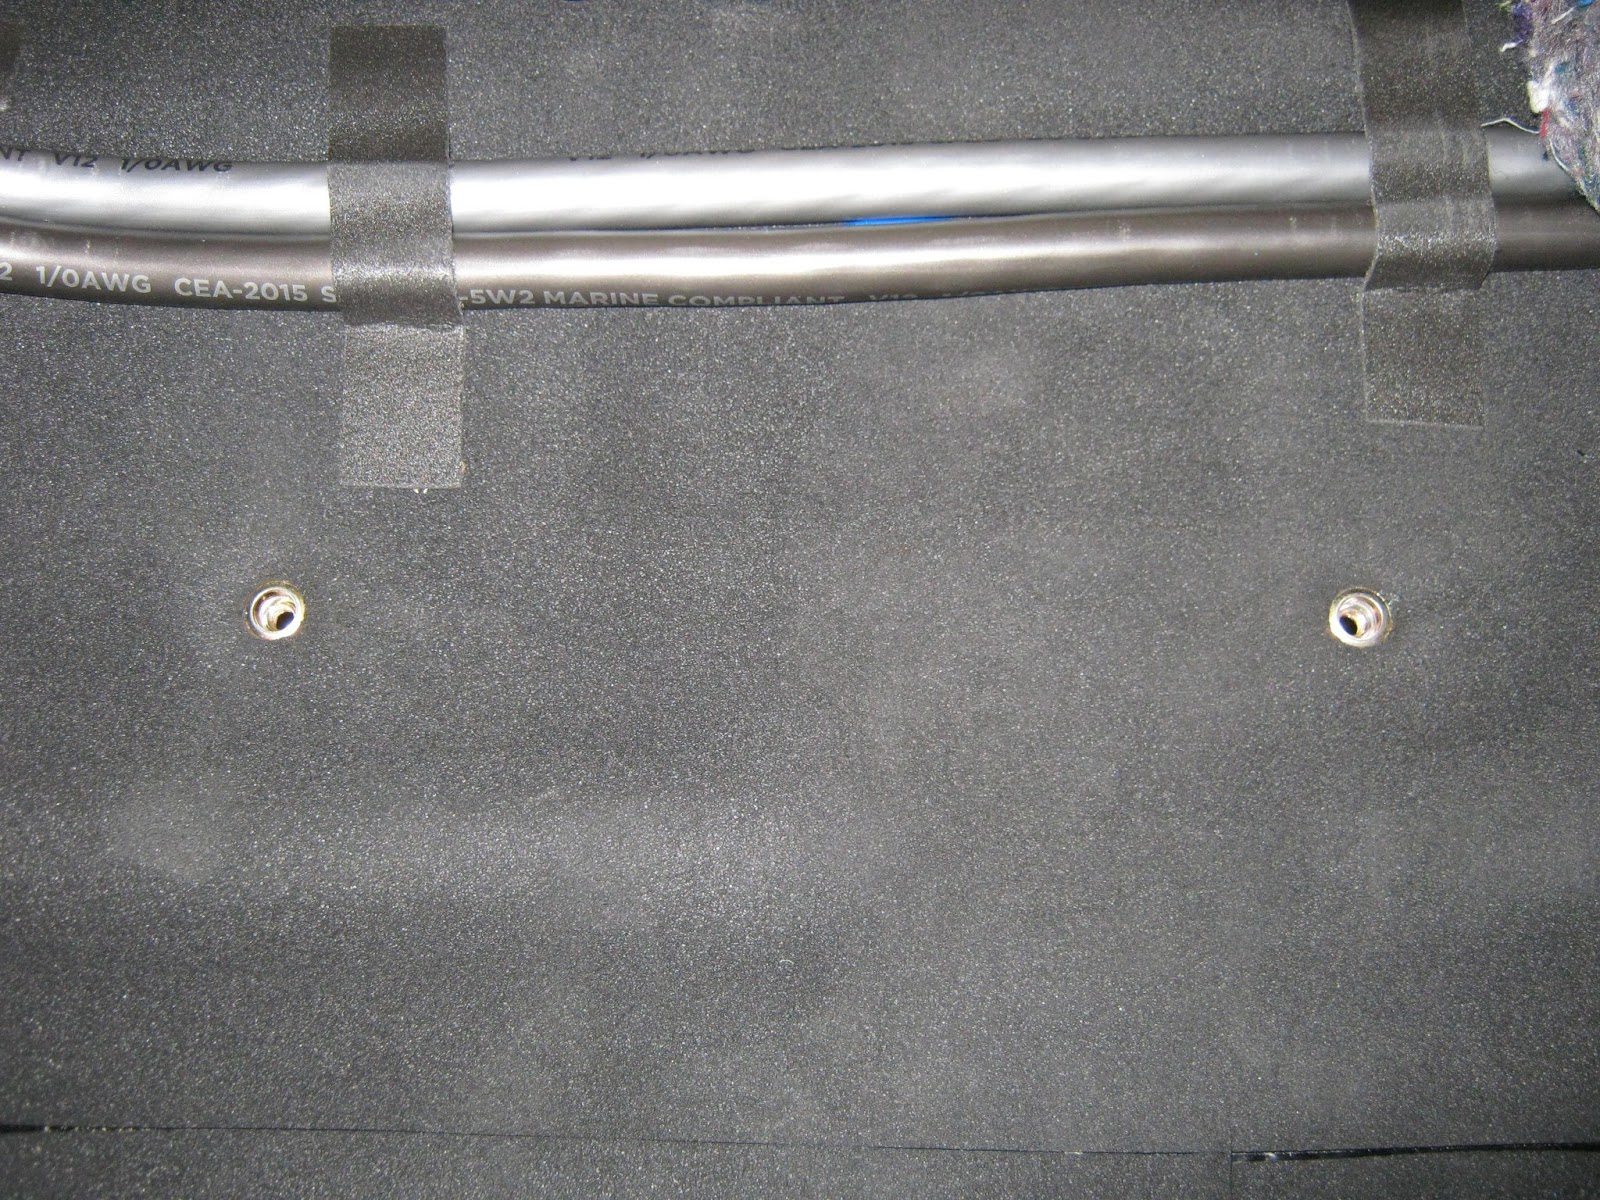
Straight wire provided the speaker wire and the Symphony RCAs. Under suggestion from Steven Hill of Straight Wire their twisted 2-16ga TPR speaker cable was run to the DynAudioEsotar E110s and E430 while the 4-16ga TPR speaker cable was run to the E650s. Everything was held down with Hush Mat Quiet tape at 8” intervals.


A carpeted panel was mounted to the back using nutserts to provide a mounting surface for the power distribution blocks. T-Spec V12 ground and fused distribution blocks were used to distribute the power. 4 gauge power and ground were run to the amplifiers.


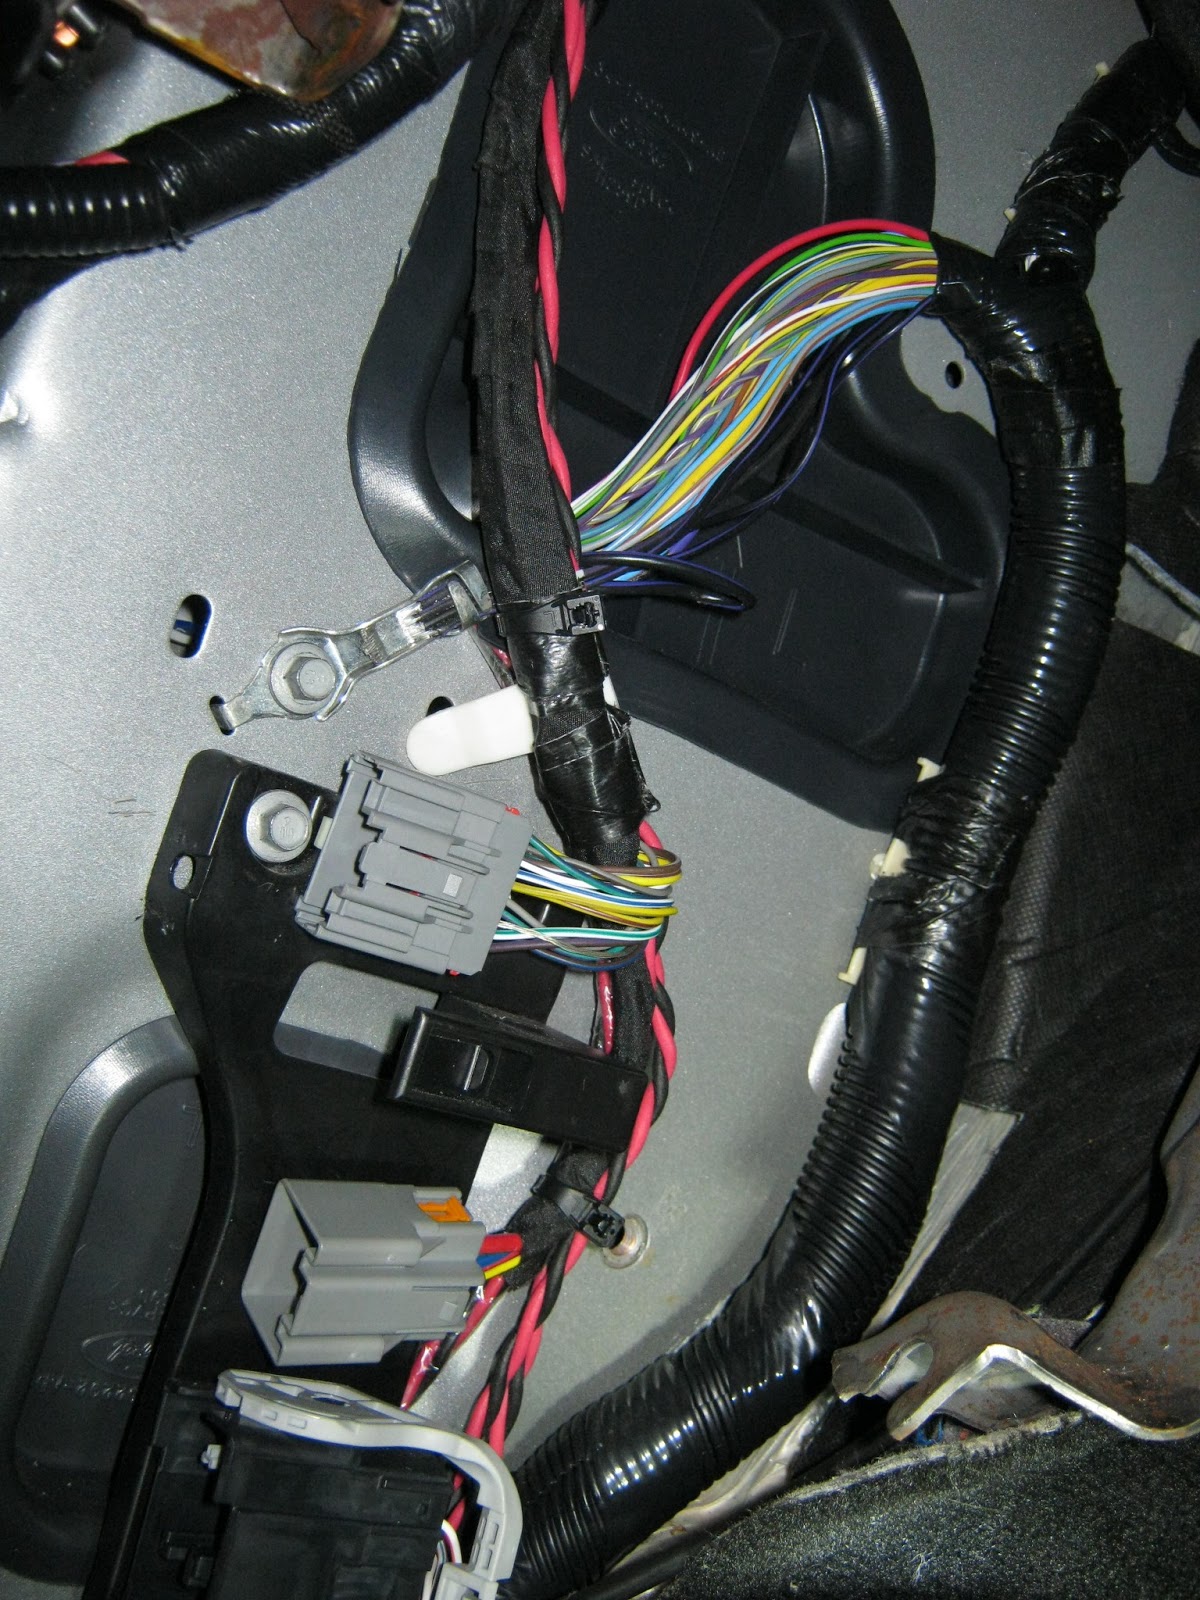
To finish off the power wire runs a line was run from the ground distribution block to chassis ground. One of the screw mounts for the jack was modified to be a grounding screw. After it was cut down it was able to be screw down and tighten without locking down the jack. The second screw mount still locks down the jack.

Once the wires were ran the speakers could be put in the front doors. Running wire into the doors was a bit of a challenge but with space available in the plug pins were moved out of the way to provide a pass through for a wire run.


With driver’s side done the passenger side was done.


Thankfully the DynAudio Esotar E650 shares the same mounting whole as the DynAudio Esotec MW 162 so all that was needed to be done were new screw holes to be drilled into the mounting ring.


With the front doors done more Hush Mat was applied to the rear doors. Hush Mat Ultra sound deadener was applied to the outside skin of the door and on the inside door skin. Once that was done it was covered with Hush Mat Silencer Megabond. As like the front doors removable ABS access panels were made to seal up the door while still allowing convenient access to the mechanics of the door.


Moving on to the rear the subwoofer - amplifier enclosure was started. The base for the enclosure is piece of MDF that is bolted to the body using nutserts. The ribs in the floor are deep enough to allow all the system wiring to pass under the board without being crushed.


As always Octave is trying new and innovative things so when the BT streamer option came out for the Mosconi 6to8 it was ordered for this project. The BT streamer allows for lossless quality signal to be transmitted to the 6to8 via Bluetooth without loss to quality of the lossless audio file. The source selection is also automatic once the BT streamer senses a BT signalbeing transmitted. Since it’s a BT signal any source that transmits BT can be a source for lossless audio files.


Once the upgrades were made to the 6to8 it was mounted in the truck using the board that is bolted to the truck as a mounting surface. The amplifiers went in as well. A Zapco Z-150.6 powers the DynAudio Esotar 3-way in an active setup where a Zapco Z-400.2 powers the Illusion Audio Carbon 12 subwoofer.

Once the amplifiers were mounted in the truck the subwoofer enclosure was started. The base of the enclosure was done in fiberglass to minimize the height of the enclosure. BlackHole Stuff enclosure fill was used inside the enclosure. The enclosure was mounted to the base boarded using #10 wood screws.


The trim panel for the amplifier-subwoofer enclosure could now be made. It is pressure fit into the truck and can easily be removed for access to the amplifiers for tuning purposes. The overall design of the trim panel was to mimic the interior of the Raptor for a more OEM integration.


To go along with the innovative BT streaming capability of the 6to8 an iPad was integrated into the dash. The iPad will serve as a source for lossless audio files. Another benefit of this setup is the Sony MEX-GS600BT which can be controlled via an app on the iPad. The iPad is removable and when removed it gives you access to the Sony. To streamline things the wiring harness was stripped of all the wires that were not going to be used for the install which left just the constant, switched and ground for a clean wiring harness.


Last on the docket was to fabricate the a-pillars to house the DynAudio Esotar E110s and E430s. The great audio nut Steve Head gets credit for the design of the pillars. The pillars were texture matched to the interior plastics as well as painted with color matched dye. Removable grilles were made to protect the speakers for daily driving but can be removed for critical listening.


David wanted more volume across the board while increasing the quality of the sound. Now I usually don’t like to levy a review on the sound until the speakers have gotten the chance to fully break in but I must say if the system can get better from this point on it’ll be incredible. With a basic tune and gains not fully maximized the system is louder and has more impact than the last setup. The center image is defined and positioned in the middle of the hood. Stage width is at the pillars but on certain tracks wants to go beyond the pillars. Once the system is fully broken in the great Steve Head will have at it and make the system all that much better.
For more pictures please visit wwwOCTAVEONLINE.com