John and I initially met when he was seeking a pair of Dynaudio subwoofers for his new car, and afterward when I hosted a joint IASCA/MECA competition at my shop in Orlando, FL. John entered the competition with an impressive system, but his primary interest was hearing the other competitors’ cars to learn as much as possible about improving the audio in his car. Shortly after the competition, John brought his Audi to me for some tuning assistance. What started as a retune eventually turned into the complete system overhaul you will read about here.
John asked what I would do differently to improve on his Car and I said the speakers he had were fine, but he should consider a different amp setup and DSP. The previous system had been running off a single, 5-channel amplifier which was definitely underpowered for his 8” Beyma midbass. I suggested he look at Sinfoni to meet his needs for sonic clarity. After a day of research John was on board with Sinfoni……surprised it took a day :OP
I also suggested he look into a DSP with more versatile tuning features, like a parametric EQ. John’s research led him to find rumors of a new, yet unreleased, DSP from Helix known as the “DSP Pro.” A quick call to one of my contacts confirmed there would be a new Helix DSP Pro coming soon, and John was keen on being one of the early adopters.
Next I contacted Emilios Mandalios of Sinfoni to get started on putting the proper amplifier selection together. If you don’t already know Emilios, he certainly knows his stuff when it comes to the best of best in equipment. Formerly of Dynaudio, Emilios is more recently responsible for the re-introduction of the Sinfoni brand back to the States. Taking into consideration the goals John had for improving on his existing system, Emilios recommended a Sinfoni Grave for his pair of Dynaudio Esotar 1200 subwoofers, two Sinfoni Presto amplifiers each bridged on a single Beyma 8G40 midbass, and a Sinfoni Prestigio to Powerhis Ultra Horns by Eric Stevens. This amplifier setup would give him more than enough power for the IB subwoofers, while almost doubling the power to his midbass. The horns would also benefit from the glorious, true Class A power of the Prestigio.
Not satisfied with simply swapping out the amplifiers, John insisted on a complete rewiring of the Car with high-end cable to compliment the Sinfoni amplfiiers. Steven Hill of Straight Wire was brought in for his expertise on wiring for the new build. Steven and John had the opportunity to talk at length during an SQ Meet which I organized last year. Steven’s knowledge and expertise in the science of cables is beyond compare, and John was immediately convinced that Sinfoni and Straight Wire were the right combination for his car. So with everyone on board the build commenced. Hold on because he we go!
The car is an Audi S6. A nice place to start if you ask me. Being an Audi fan I'm a bit biased.

The purpose of the build was to improve upon the previous system, although very little remains from before other than the speakers. Everything beyond that is either new, or has been reworked.
The Equipment List
mObridge DA1 preamp
Audison BitPlay HD media player
Helix DSP Pro
Sinfoni Prestigio - running the horn-loaded compression drivers
Sinfoni Presto (x2) - one amp bridged on each midbass
Sinfoni Grave - bridged to the subwoofers
Eric Stevens Ultra Horns (Full Sized)
Beyma 8G40 midbass
Dynaudio Esotar 1200 subwoofers
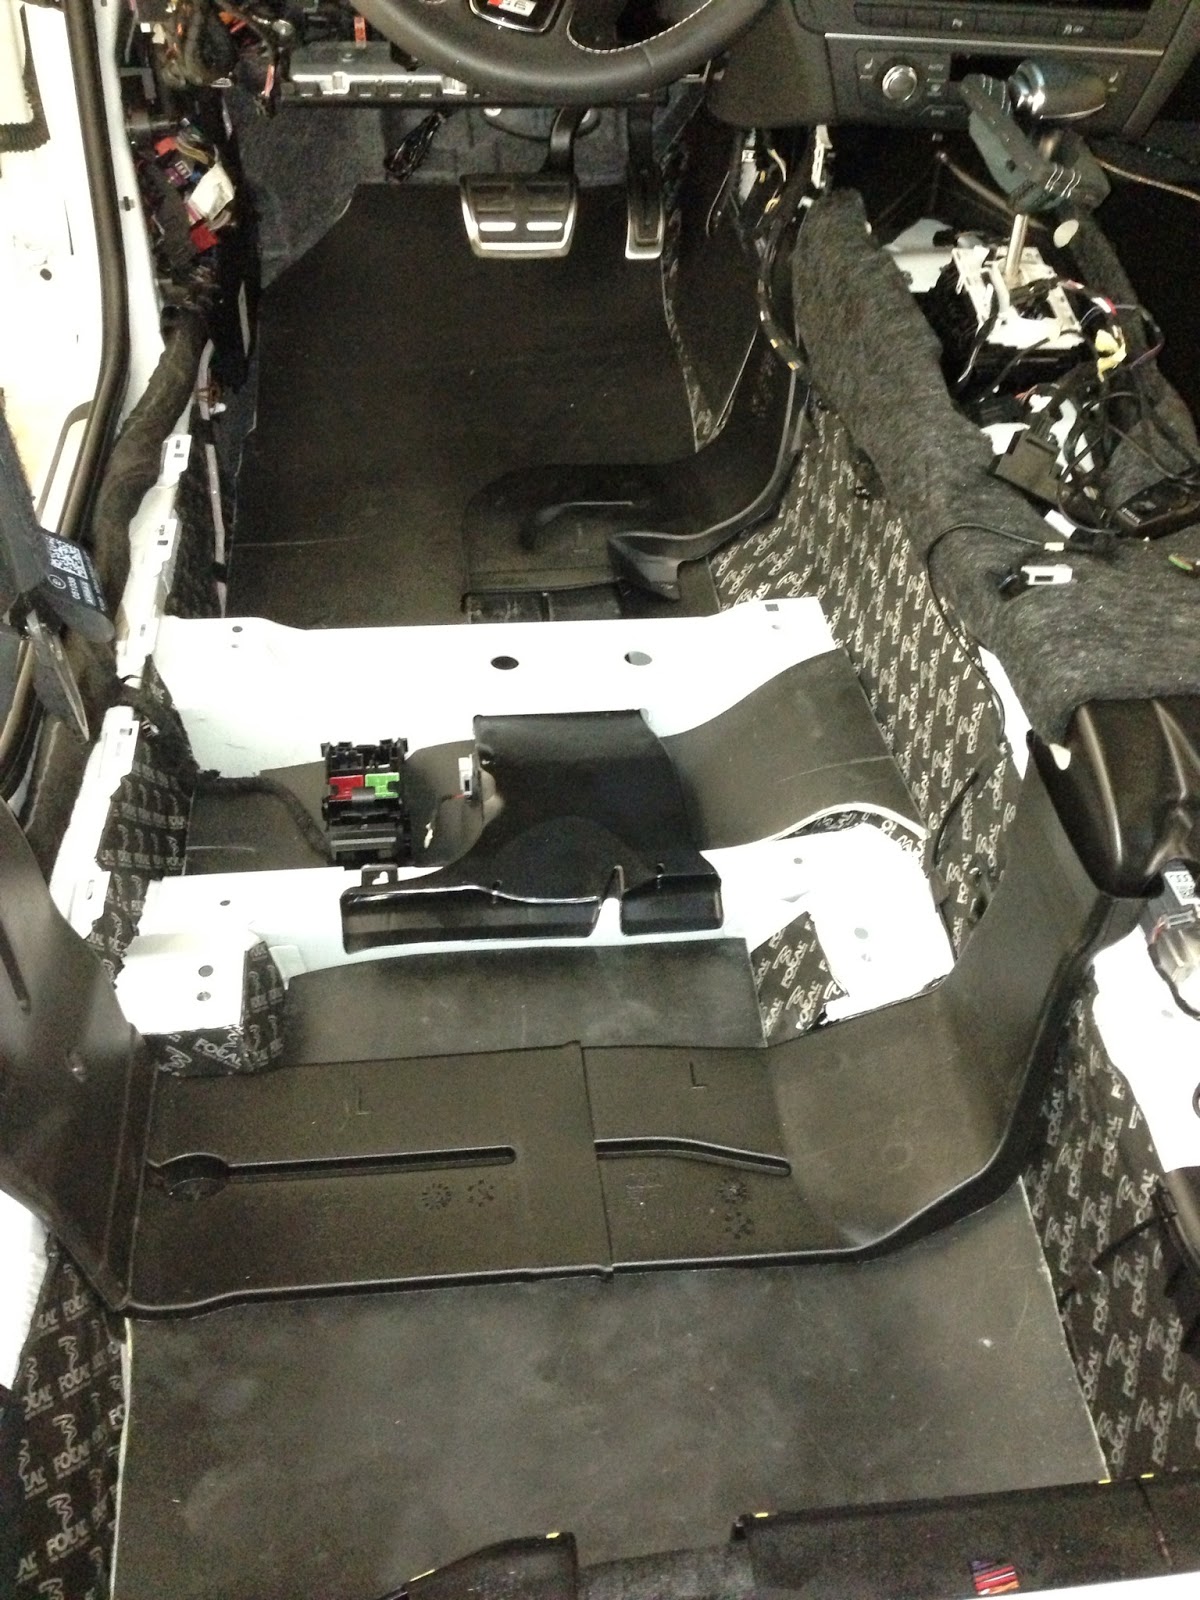
To start things off the entire interior was gutted so that sound dampening could be applied to the floor and the system wiring could be ran.
The Equipment List
mObridge DA1 preamp
Audison BitPlay HD media player
Helix DSP Pro
Sinfoni Prestigio - running the horn-loaded compression drivers
Sinfoni Presto (x2) - one amp bridged on each midbass
Sinfoni Grave - bridged to the subwoofers
Eric Stevens Ultra Horns (Full Sized)
Beyma 8G40 midbass
Dynaudio Esotar 1200 subwoofers
To start things off the entire interior was gutted so that sound dampening could be applied to the floor and the system wiring could be ran.


After talking with Alan of ORCA the plan was to apply Focal BAM to the floor and then to do a layer of MLV (mass loaded vinyl) on top of it.


The MLV was provided by Sound Deadener Showdown. To go to the extreme we did 2 layers of MLV where most would be happy with one. Each layer had a layer of fleece applied to it to give it a decoupling layer.

With the MLV in place the OEM A/C duct work and wiring was put back in place. The addition of the Focal BAM and the MLV didn't add too much that interfered with putting the carpet back in.


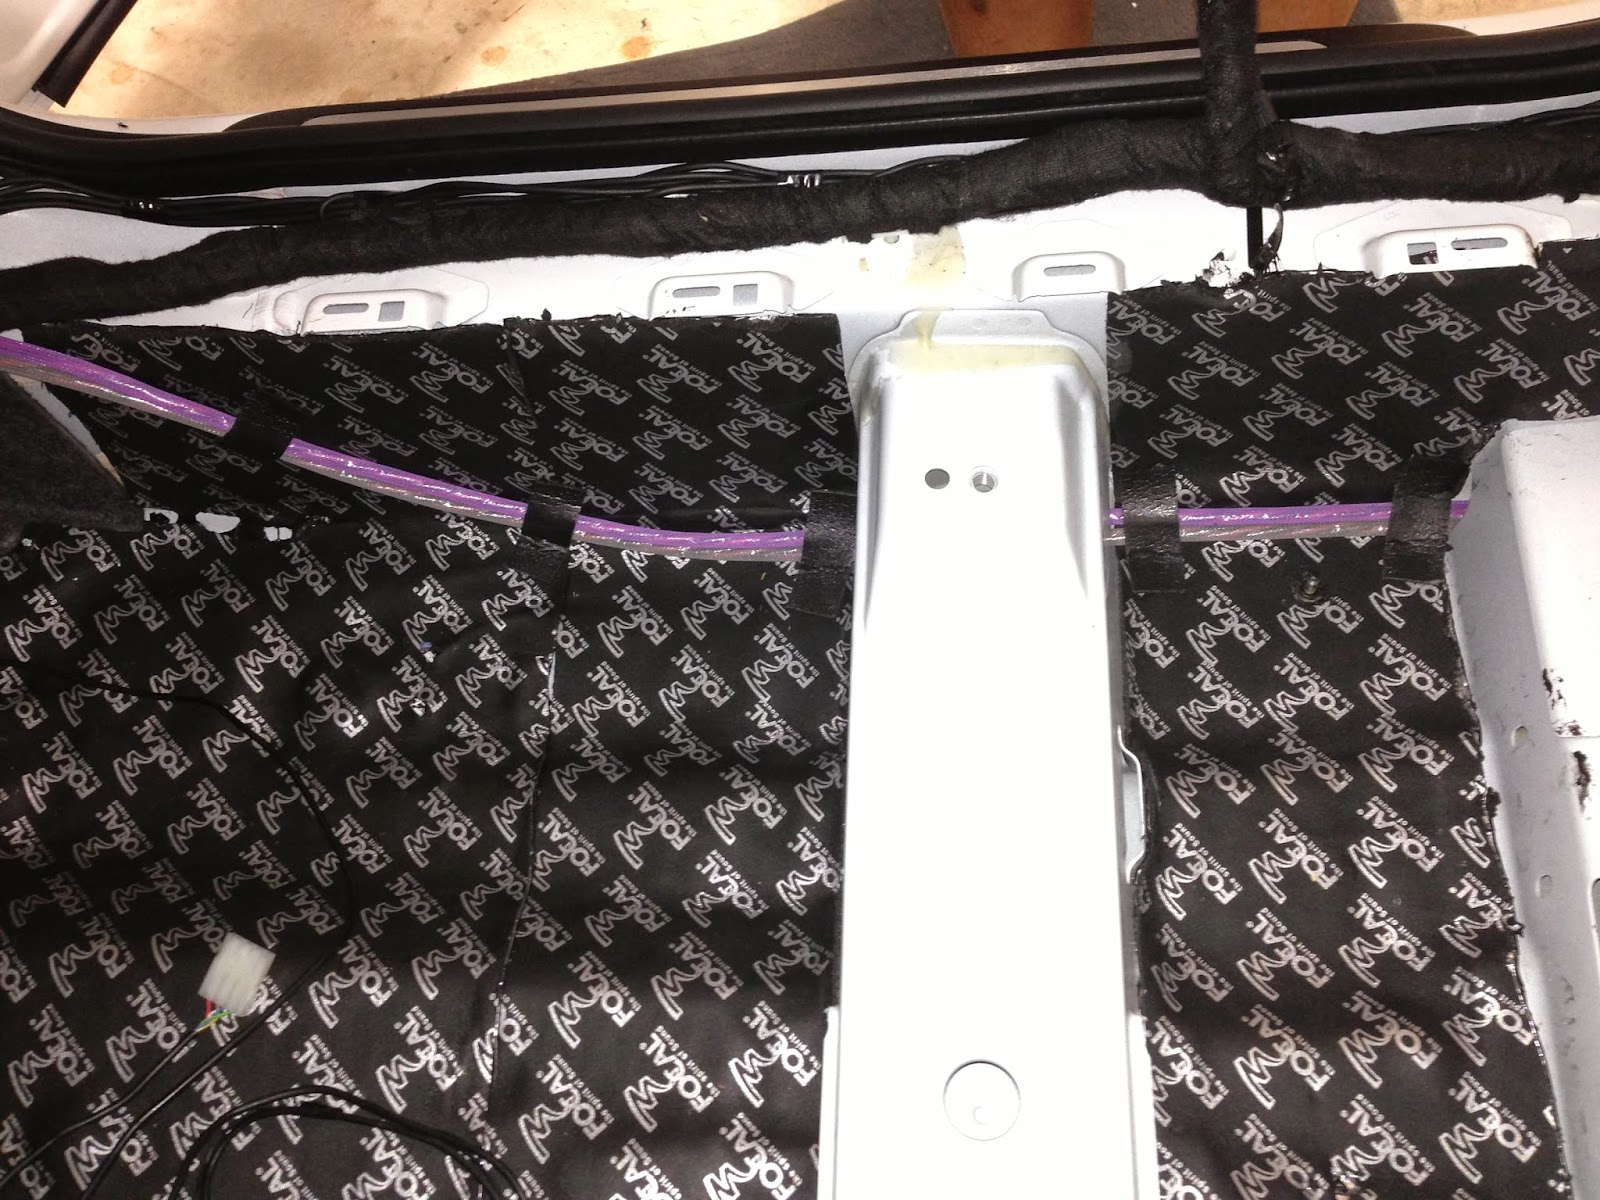
Once the floor was done the rear deck received the same attention. A layer of Focal BAM and 2 layers of MLV.


Some Black Hole Tiles had already being installed inside the front doors, but since since we were going the extra mile more Tiles were added.


Luxury Liner Pro from Second Skin was added to the door to replace the OEM foam barrier. It's an MLV product with a 1/4" layer of closed-cell, acoustical foam. The combination product makes installation easier in the doors where gravity is working against you.


After all of our dampening efforts, John reported a measured reduction in road noise from 85db to 65db at 70mph on the highway. Yes. That's a huge dramatic drop in road noise.
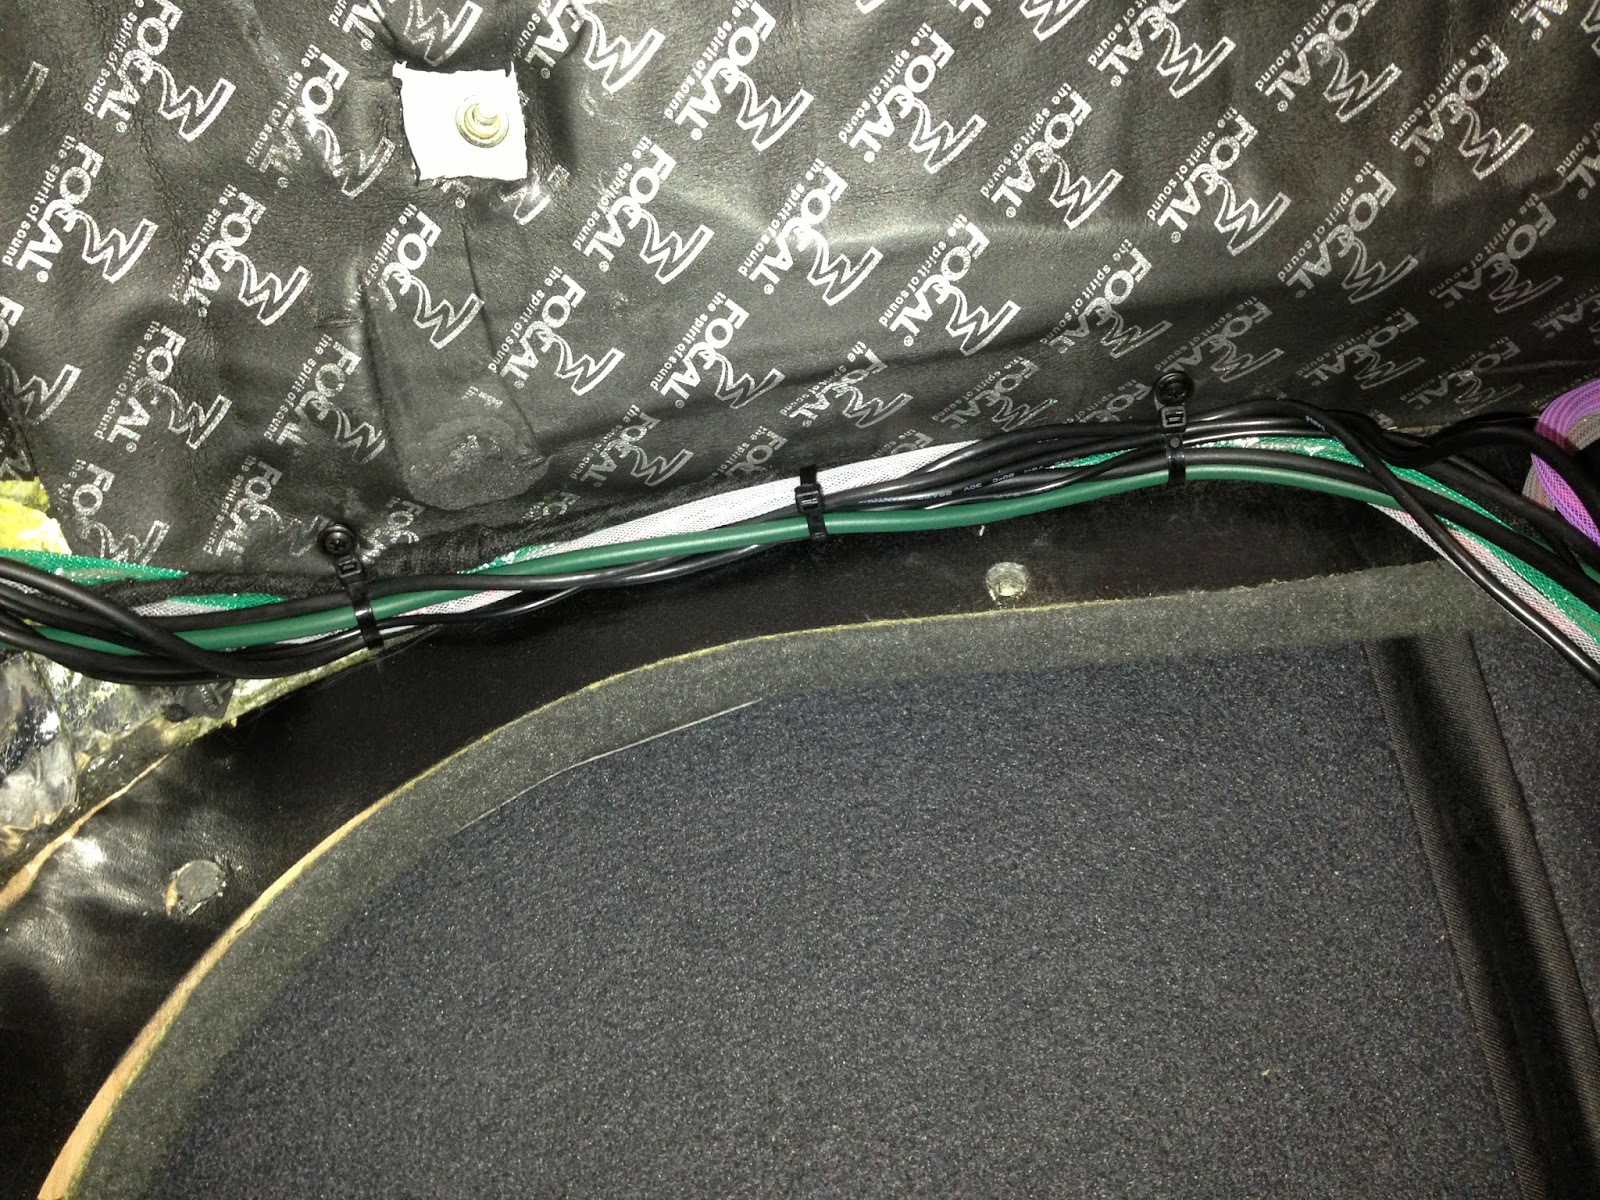
Once the dampening had been attended to, the wiring was next on the list. Steven recommended the Straight Wire TPR 4/15 speaker cable. The 2 red leads and 2 black leads were twisted to make one. The ends were color-coded, heat shrunk and the wiring was covered in color-coded tech flex. The tech flex provides added protection and quick identification in case of diagnosing problems.
Once the dampening had been attended to, the wiring was next on the list. Steven recommended the Straight Wire TPR 4/15 speaker cable. The 2 red leads and 2 black leads were twisted to make one. The ends were color-coded, heat shrunk and the wiring was covered in color-coded tech flex. The tech flex provides added protection and quick identification in case of diagnosing problems.

The speaker wire in the doors was run along OEM wiring and zip tied every 6".


Next up was running speaker cable into the doors. I found that it was actually an easy process to run wire into the doors thanks to the Bang & Olufsen upgrade system that has fiber optic running into the doors. John's S6 didn't have that upgraded option so the optical location within the door's molex plug was open. It was this space that I used to run the wire into the doors.


Once inside the car the speaker cable was ran along the sides of the interior held down by Hush Mat Quite Tape every 6". The runs were ran over the Focal BAM mat to decouple the wire from mechanical interference caused by being laid directly on body metal - Another pro-tip from Steven.


A USB cable and video cable was ran from the center console. The USB hooks up to the Helix Pro DSP and the video cable provides a video link into the OEM Audi MMI screen for the Audison BitPlay.


The cable runs enter the trunk through a passage behind the back seat bolster.


With the driver side done the passenger side received the same treatment.


With the dampening and wiring done the interior was put back in along with the speakers.


The center console MMI input housing was modified to accept an USB plug and allow the video input cable to be used.


With the front of the vehicle attended to, the rear work began. Once again, Steven recommended some of the Straight Wire 4ga power cable for the install. Not to be confused with standard power/ground cable.
The ground cable has an interior layer of polyurethane (yellow) that was formulated to keep the heat inside the wire to ensure that the electrons would flow efficiently.
The ground cable has an interior layer of polyurethane (yellow) that was formulated to keep the heat inside the wire to ensure that the electrons would flow efficiently.

The power cable is built similar to an RCA cable with a braided metal shield. Like the ground cable, the power cable has a layer of the polyurethane, and over that the braided shield. The shielding is designed to be grounded and offer a filter for any inducted interference, providing a noise-free cable.


The cable was covered in colored coded tech flex and heat shrink.


The cable run from the OEM battery to the system's main fuse was cut to 18".

Since the power cable is only available in 4ga. 2 runs were ran off the battery to the main fuse.


OEM ground lungs provided a grounding location for the system's grounding. Like the power cable 2 ground cables were ran.

The cables are held down with loop zip ties that are screwed down to ensure the thicker cable was secured.

For a system turn on lead an added fuse circuit was used with it's own fusing.

The wire runs were zip tied into place.


A layer of Focal BAM mat was also applied to the underside of the rear deck. The cable runs were secured in place with screw down zip ties.

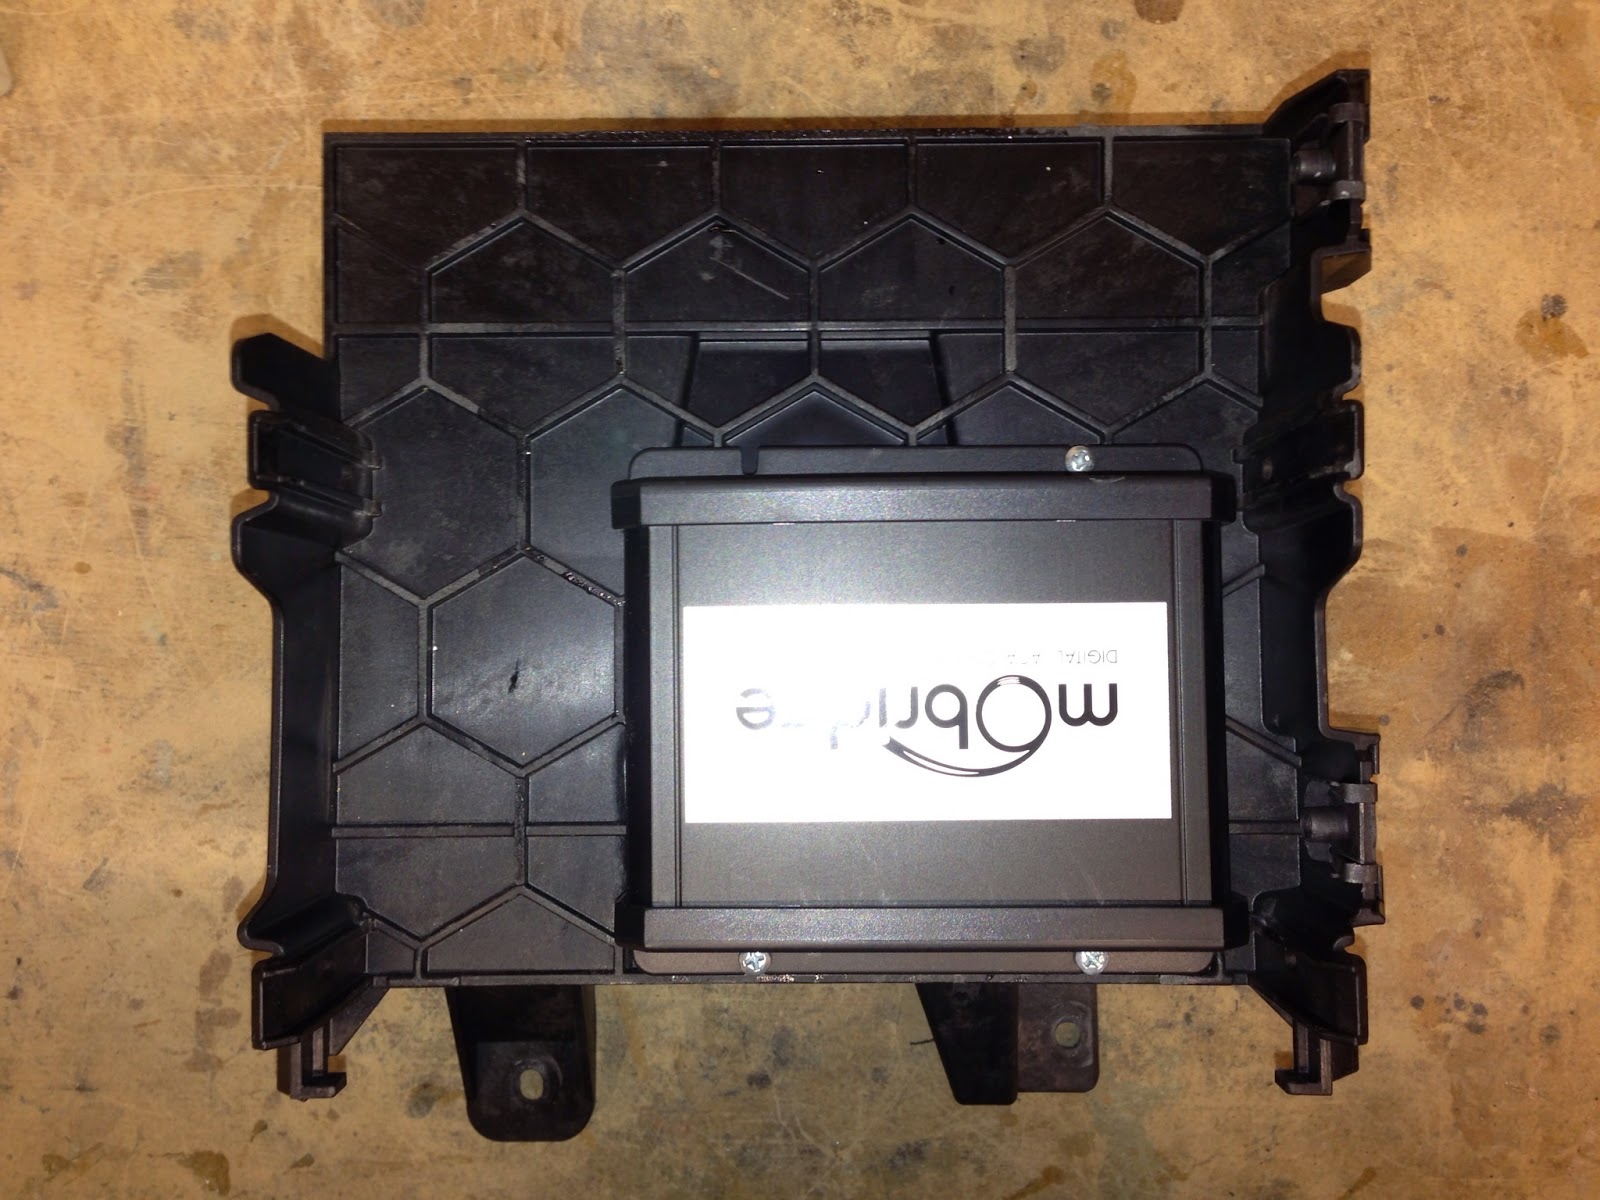
Power runs sorted signal source was addressed. John wanted a pure digital so a moBridge was used for OEM integration. The moBridge DA1 was mounted to the OEM amplifier rack.

Straight Wire optical cable was used for the run off the moBridge to the Helix DSP Pro.

The optical cable was wrapped in fabric tape to give an OEM appearance.

The switch to disable the moBridge was put into the OEM amplifier rack and with the trunk access panel down can be easily accessed. This switch disables the mObridge during Audi service appointments so that the car doesn’t report any trouble codes to the Audi technicians when they scan the car.

With everything back in place the OEM amplifier and wiring appear to still be stock.

All the signal cables were tied up and the excess optical cable was spooled up.

The amplifier rack mounting board was bolted to the rear deck using nutserts.


Now for the art work……the amplifier rack. The rack was designed to be mounted to the underside of the rear deck and house the Sinfoni Presto (x2), Sinfoni Grave, Sinfoni Prestigio, Audison BitPlay and Helix DSP Pro. Yes, all of that on one board. Great time and attention to detail was used to ensure a clean layout for all the equipment and cable runs for the equipment. Steven recommended the Straight Wire Rhapsody RCAs for their unyielding performance. These are a step above the Encore I used on Nelson's BMW 5 series project, and I thought those cables were out of control. The power/ground cables were covered in color coded tech flex and the ends heat shrunk.

Given the complex setup I was forced to use a barrier strip, as many know I can't stand these things but they have their uses but it was only for power distribution. The strip was set up to provide a distribution for power/ground and turn on. The turn on lead starts with a run to the DSP and then the DSP turn on lead out runs to a relay that is distributed along the strip for the various pieces.


Getting a good pic of the rack in the car is a difficult task. Also looking at it while it's on display is difficult as well. To remedy that we use a piece of plexiglass mirror to show it off.

Now we get to the part where a description of the sound is had. Well. I'll first say this: We have already competed at this years Spring Break Nationals in Daytona Beach, and to the shock of the crowd not only did we take 1st Place in IASCA SQC Pro/Am, but did it by nearly a 10 point margin from 2nd. John will surely be giving you his impressions but a common response to the car was that is not a horn car. One judge commented saying he usually doesn't care for horn cars, but this one he liked. Another judge commented on the sub bass performance and was amazed at the detail it had.

I think I can fully say the system was improved upon and this is only the start. The version that will be on display at Finals will surely be an eye catcher.
For more info and pics please visit
www.OCTAVEONLINE.com